Thursday, February 27, 2014

CTMH Skylark and Viva la Verve

Good morning crafty friends! Hope y'all are having a 
good week! Tomorrow is Friday! Whoop whoop! I thought
I'd share a card with y'all before I head off to work.
For this card I used a February sketch from Viva la Verve.


For this card I used all Close To My Heart products. I used
a new paper pack called Skylark. I love how versatile the
colors can be, They can work for feminine or masculine.
I used one of the new hostess stamp sets called My Hero. I love
this set! My dad was a mechanic in the US Air force for
21 years. Now he is QA (quality assurance) for the 
Air Force making sure those who fix the planes are doing so 
properly. He says he's not always everyone's favorite person. lol.
So, anyways I knew I had to have this set because it made
me think of him :-) You can only get this set if you host
a party and have over $150 in sales. If you hit that mark, you get $25 
in hostess rewards and you can get this set for only $6!
The inks I used where Lagoon, Desert Sand, and Sweet Leaf.
the reason that the clouds and the pilot look so light is 
because I second generation stamped them to give them a lighter look.

Shop with me Here!!

Go Here to find out how to host your own 
online party so you can get this wonderful stamp set!


Tuesday, February 25, 2014

CTMH Ariana and Viva la Verve

Good morning crafty friends! Hope y'all are all having a
great week so far! Made it past Monday! I wanted
to share a card with y'all real quick before I go to work!
I made this last night. I used one of the February 
sketches from Viva la Verve.


I used one of the new Close To My Heart paper packs
called Ariana. The stamps and sentiment are from Verve.
I stamped them using CTMH inks in Hollyhock, Crystal Blue,
Outdoor Denim, and Sweet Leaf. I also used Verve
dies to cut out the leaves and flowers and a 
Nestabilities die for the circle.

Shop with me Here!!


Thursday, February 20, 2014

Sketch N Scrap card #20

Good morning Sketch N Scrap fans! We are getting close
to the weekend! I'm always happy when Thursday 
rolls around. Plus it's my most enjoyable day at work (usually).
Hope y'all are ready for another awesome sketch!

Sketch #20 due Feb 28th:


For my creation I decided to turn it into a square card.
I used all Close To My Heart products on this card except
the paper doily which came from Hobby Lobby. I used paper
from the new pack called Ivy Lane. I also added in some
Kraft card stock. I colored my doily with a sponge and
pear ink and stamped my sentiment with hollyhock ink. The sentiment
is from the Card Chatter - Birthday set. I then added some
Pink Glitter Gems and a Pewter Badge Button


Shop with me Here !!

Tuesday, February 18, 2014

Twisted Tuesday #70

Good morning Twisted Tuesday fans! Hope y'all are having
a great week so far! The weather here in OK has been
so nice! I don't want it to end! I actually got a sunburn on Sunday!
Well I hope ya'll are ready for another great challenge!

The Challenge:
Anything but a card

The Twist:
Use chipboard on your creation

For my creation I made a gift tag. All products are from Close To My Heart
except the blue ribbon which is from Michaels.
I used paper from Laughing Lola paper pack. The arrows and flowers
are chip board pieces from the Laughing Lola Compliments


Shop with me Here!!


Wednesday, February 5, 2014

Sketch N Scrap card #19

Good morning Sketch N Scrap fans! It's hump day!
That much closer to the weekend! Whoop!
Well we have another great sketch for y'all this
week! Hope you will join us!

Sketch #19 due Friday February 28th:


My creation: I flipped the sketch:


Supplies: All Close To My Heart unless otherwise stated:

Kraft cardstock
Ink in lagoon, hollyhock, and slate
Paper Doily (from Hobby Lobby)

Shop with me Here!!


Tuesday, February 4, 2014

Twisted Tuesday #69

Good morning crafty friends! Hope y'all are
having a great week so far! Are y'all ready for another
challenge from Twisted Tuesday?! It's a good one!

Look! Up in the Sky!

The Challenge:
Something on your creation representing Sky.

The Twist:
Something that flies in the sky.

Make sure to include both the challenge and twist
on your project! Happy crafting!

My creation:
Outside

Inside


Kraft cardstock
National Stamping Month Alphabet stamps
Ink in Lagoon, Juniper, Slate, hollyhock, and Pear

Shop with me Here!!

Sunday, January 26, 2014

CTMH Base and bling necklace gift box

Good evening my crafty friends! I sure hope y'all have had a fabulous weekend!
Remember about the new base and bling products that Close To My Heart 
is coming out with that I posted about Here? Well I came
across a blog by a Four Wise Guys (thanks to fellow diva Traci) 
that made these adorable Ornament boxes to put small, flat Christmas
ornaments in as gifts. Well Traci thought it would be a cool idea for 
gift boxes for the base and bling... She was sooo right! :-)
So I've created a picture tutorial here that is similar to 
Four Wise Guys' tutorial, just using different measurements to 
accommodate the size of the necklaces.

I do apologize for my not so fabulous photos... My hubby was busy
working at his computer and having the overhead light on
disturbs his work and my desktop lamp isn't the greatest...
not to mention I used Colonial White paper... lol!

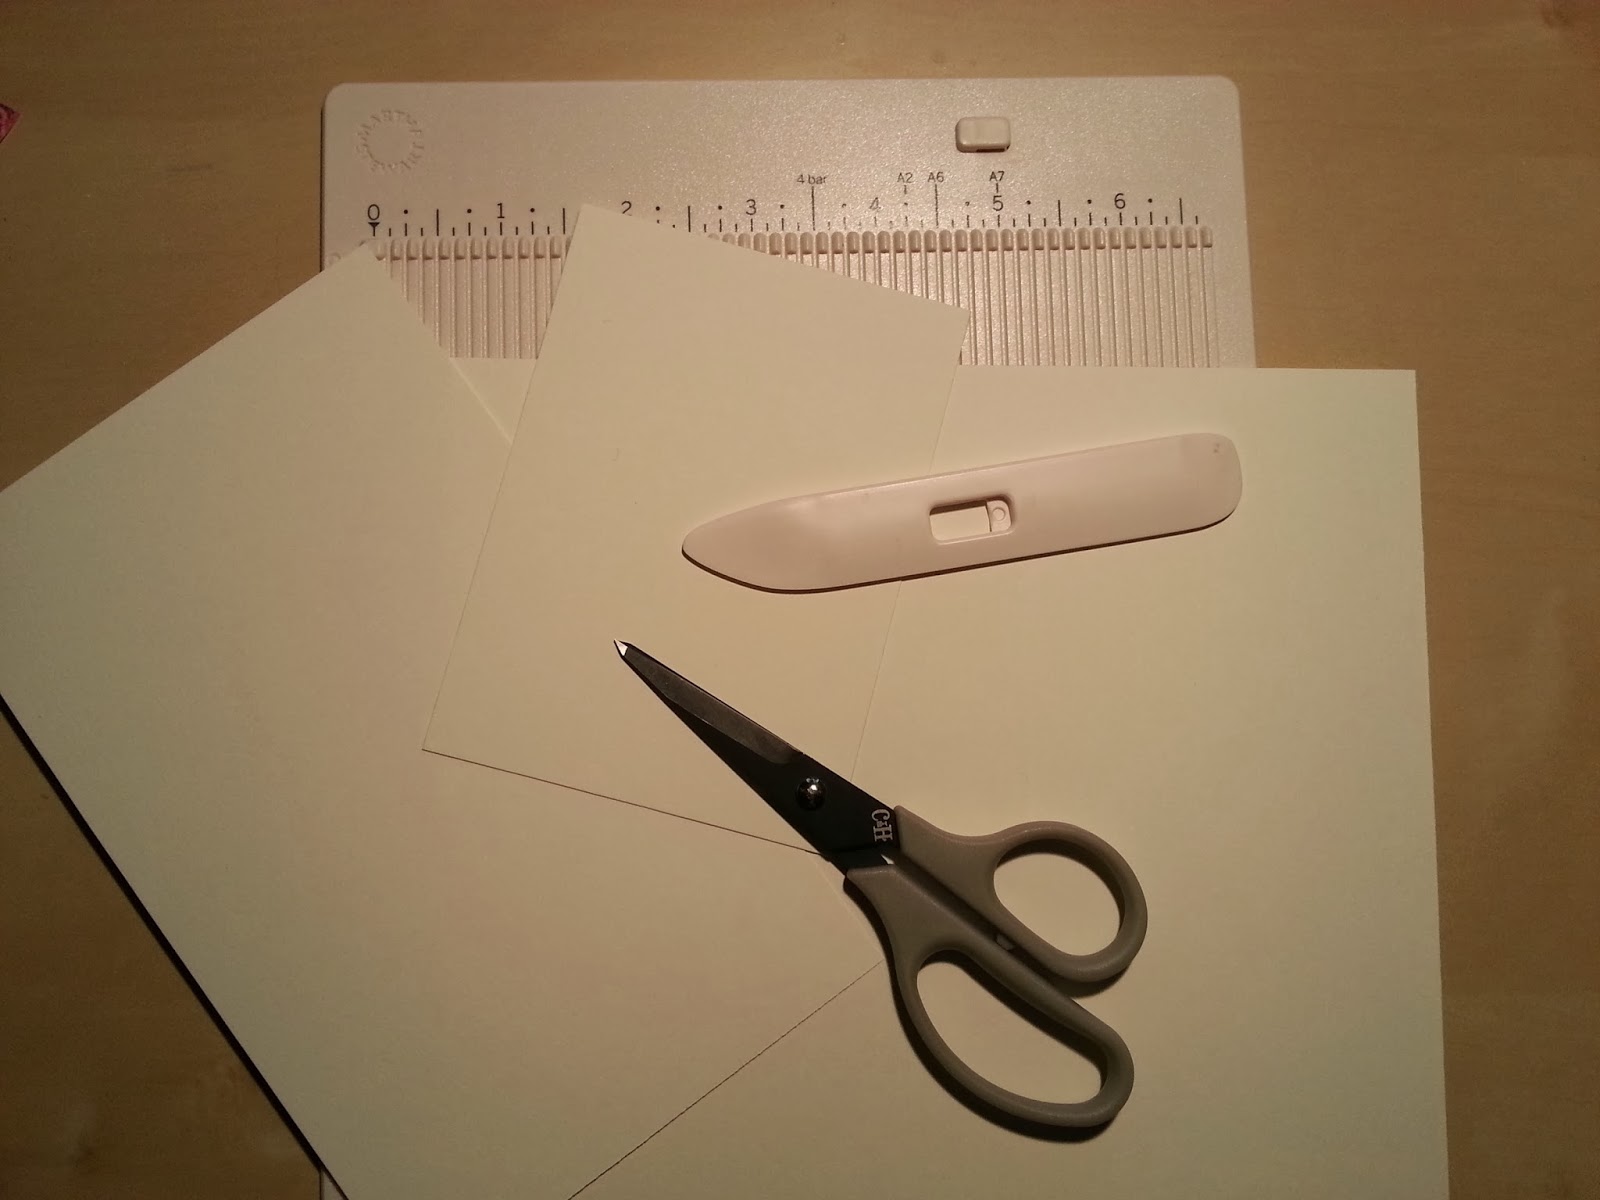
You will need a score board, bone folder, scissors, doubles sided tape, and
3 cardstock pieces cut at 8 1/4 by 9 1/2, 4 1/4 by 6 7/8, and 3 1/4 by 4 1/2.


Using the 8 1/4 by 9 1/2 piece of cardstock and a score board, score at 
1/2, 1, 1 1/2, and 2 inches on all sides.


Once you've scored on all sides you'll have this nice square made up of
sixteen small boxes...


Now with the 8 1/4inch edge lined up on your score bored, score from the
2 1/2 in mark down just to the bottom score there that you
have already made (where the tip of my bone folder is)
Do this also at the 5 3/4 mark too...


Flip the paper around and do it on the other side...
Your paper should now look like this:


Now for the cutting, the easiest way for me to put this is to
cut like the pic below... lol So cut off the sixteen little squares and
the top 2 little squares from the other piece...


With the little tabs that are left, cut them down the side to meet the
bottom score line... don't cut them off


Now work on folding in all the scored lines...


Now flip the box over and put double sided tape on all the outside flaps...


Now flip it back over and fold the flap up and stick them down like so...


Do this to all the sides and with the little tabs left over, with a bit
of tape on each you will slide them inside to cover the holes...


Should now look like this:


For the cover, get the 4 1/4 by 6 7/8 piece and lay it so the piece perfectly
covers your box and mark where the overage starts...


Now score on the line, then score slightly over 1/2 inch to the left of that line...


Now put double sided tape on the flap and fold it over your box
and tape it down...


Should look like this on the inside ...


Now it's time to decorate!! I used paper from the brand new
CTMH paper pack called Ivy Lane! Isn't it lovely! I also
used the January SOTM and some Hollyhock ink...


For the inside, use strips of paper 1/2 by 4 1/4 inch and 
1/2 by 4 1/2 inch for around the sides of the box. Use the 
3 1/4 by 4 1/2 paper for the insert. Cut a little on both sides of
the top of the paper to side the chain in to hold in place.
The rest of the chain sits behind. I but a bit of 
new Topiary Chevron Ribbon on the piece to use to easily pull it out.


Have any questions? Please feel free to ask!!

Shop with me here!!